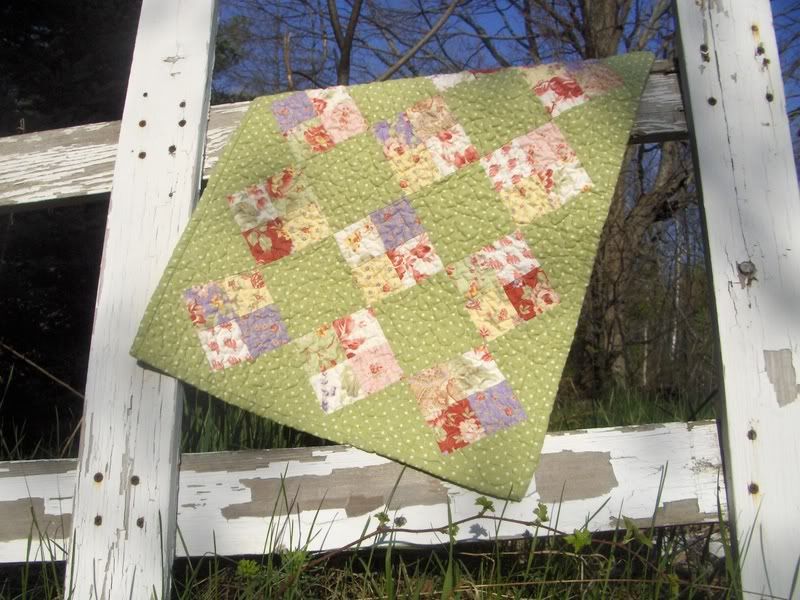
Finished Quilt size- 20" x 15 1/2 "

Ok, I'm going to do this in installments. There are quite a few pictures and I'll try to be as detailed as I can for those who aren't quilters. Those of you who are more experienced can just skip over all of my prattle Remember to have fun! It doesn't have to be perfect.
Select your fabrics:
Easy- choose 12 different coordinating fabrics. You'll need just one 5" square of each. Or just use 4 fabrics and all of the 4 patches will be identical.
Easier- -choose 1 fabric for a solid block instead of a 4 patch. This would be a great way to use a novelty. You'll need 12- 4" squares.
You will also need a setting block or background fabric. 1/3 yard should be plenty.I
t's time to think about what you would like to use for your binding and backing also. You'll need about 80-90" of 2 1/4" strips for the binding. That means two strips the full width of the fabric.
For the batting, you could use Warm and natural or any other thin batting OR flannel works really well in doll quilts, too.
The backing and batting pieces will need to be about 20"x 25"
Cutting and sewing the 4 patch squares.
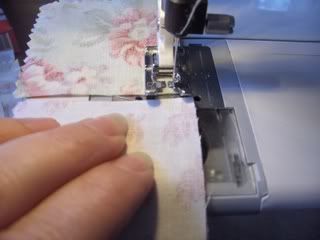
Cut your 5" squares into quarters or 2 1/2" squares. Lay one square on top of another with right sides together and chain piece all of them into sets of two. (Chain piecing just means that you don't want to cut your thread between squares, just keep on sewing, keeping the pieces close to each other. It will save time and thread )

NOTE: If you are only using 4 fabrics, only cut your 5" squares in half and then sew those short strips, right sides together, to another strip. Then press open and cut in half perpendicular to your seam. This will save you a little bit of time.
Cut the threads that connect them and press open, pressing the seam to one side or press seams open if you prefer. Usually in quilting, if you press to the side, you'll want the fabric pressed to the side of the darker fabric. This way the darker fabric wont show through the front.
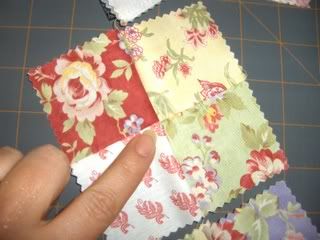
Take the sets of two and sew them to another set of two. Chain stitch these,too!
It's more important to match up that middle seam than it is to match the edges.

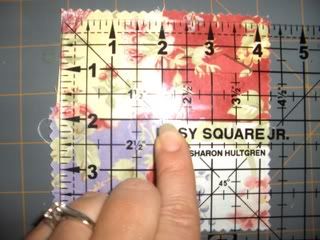
We'll do some trimming to get our blocks nice and straight. Now you have your 12 Four Patches!
We'll take them to the cutting board and square them up. Using the middle seam as a guide to mark your center, trim up the block to 4" Make sure you don't just trim the excess off of one side, but all four!

OK, that's all for part one.


No comments:
Post a Comment